Nameserver Registration Guide
Registering nameservers sounds straightforward until you're staring at your registrar's interface at 2 AM wondering why nothing works. Each registrar handles this differently, and some make it unnecessarily complicated.
Quick reality check: Don't confuse registering nameservers with pointing your domain to them. Nameserver registration just tells the world "yes, ns1.yourdomain.com is a real nameserver at this IP address." You'll still need to update your domain's DNS settings afterward.
GoDaddy - The Love-Hate Relationship
GoDaddy's interface changes more often than gas prices, but the process stays roughly the same:
The Steps: 1. Head to DNS Management (usually found under "My Products" if they haven't moved it again) 2. Look for "Advanced Features" - it's often tucked away at the bottom 3. Click "Host names" or "Nameservers" (they love renaming things) 4. Hit "Add" and fill in your hostname and IP
Pro tip: Don't type the full domain in the hostname field. If your domain is example.com and you want ns1.example.com, just enter "ns1". GoDaddy automatically appends the domain name. Typing the full thing gives you ns1.example.com.example.com - learned that one the hard way.
Watch out for: GoDaddy sometimes takes 15-30 minutes to propagate nameserver registrations. Don't panic if your nameserver checks fail immediately.
GoDaddy's official docs (when they're not broken)
Name.com - Actually User-Friendly
Name.com keeps things refreshingly simple, which is why many SEO professionals stick with them for domain management.
The Process: 1. Log into your Name.com account 2. Click "MY DOMAINS" (top right corner) 3. Select your domain 4. Find "NS Registration" in the left sidebar 5. Enter hostname prefix (like NS1) and the target IP address 6. Click "Register New Nameserver"
Real talk: Name.com processes these registrations fast - usually within 5 minutes. Their interface hasn't changed much in years, which is actually a good thing when you're managing dozens of domains.
Gotcha: Some people enter the full nameserver name in the hostname field. Don't. Just the prefix works fine.
Name.com's guide is actually helpful
Namecheap - Feature-Rich But Cluttered
Namecheap packs everything into their interface, including nameserver management. It works great once you know where everything lives.
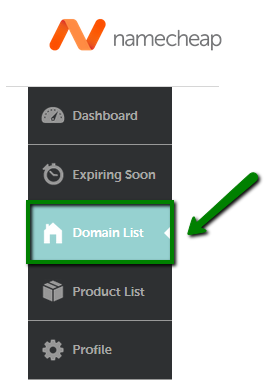
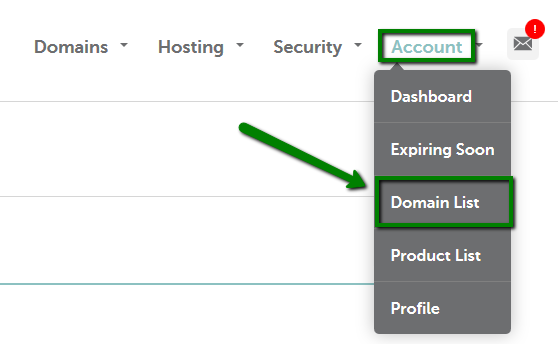
Getting There: 1. Sign into your Namecheap account 2. Either use the "Domain List" menu in the left sidebar or hover over "Account" in the top right and select "Domain List"
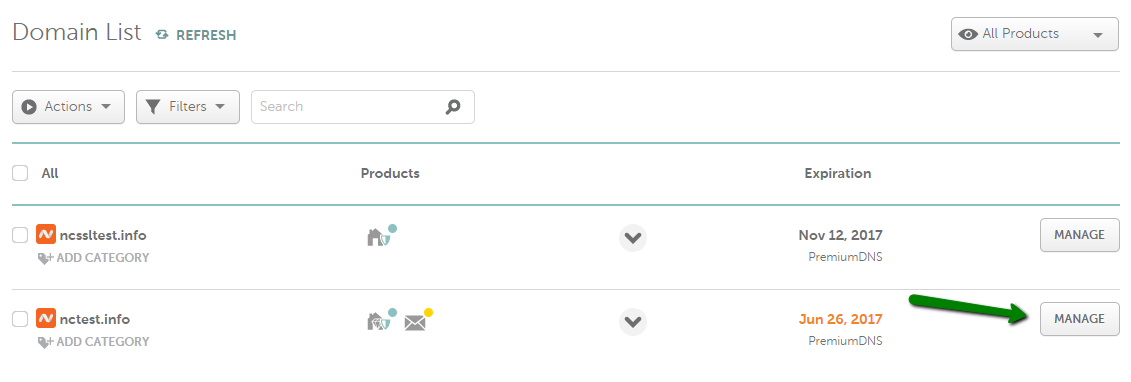
Click "Manage" next to your domain
The Important Part: 4. Click the "Advanced DNS" tab 5. Scroll down to "Personal DNS Server" section 6. Click "Add Nameserver"
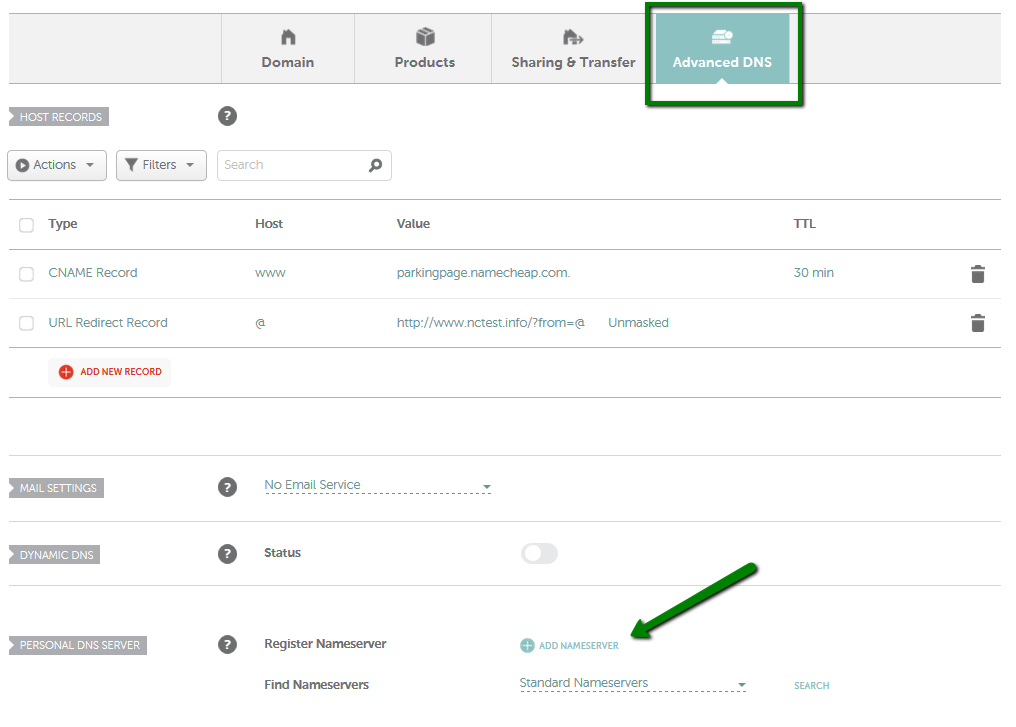
Setting It Up: Enter just the hostname prefix in the search field. If you want dns1.example.com, enter "dns1". If you want ns.subdomain.example.com, enter "ns.subdomain". Then add the IP address.
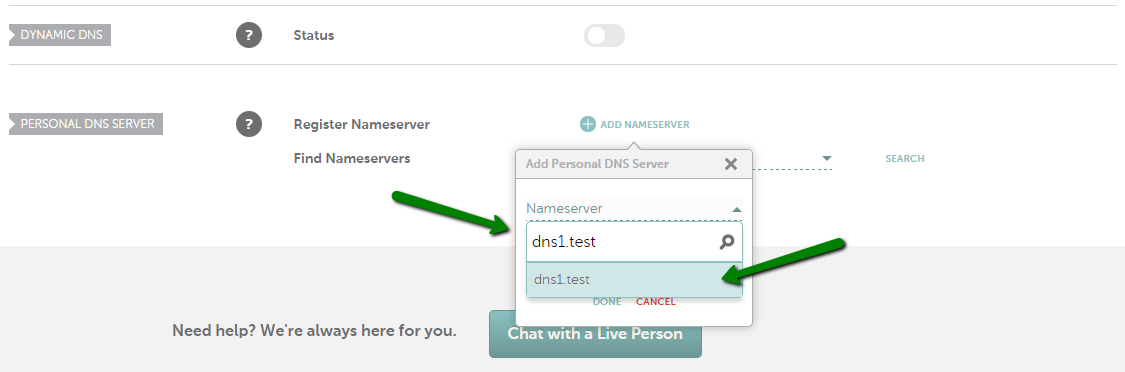
Click "Done" when finished.
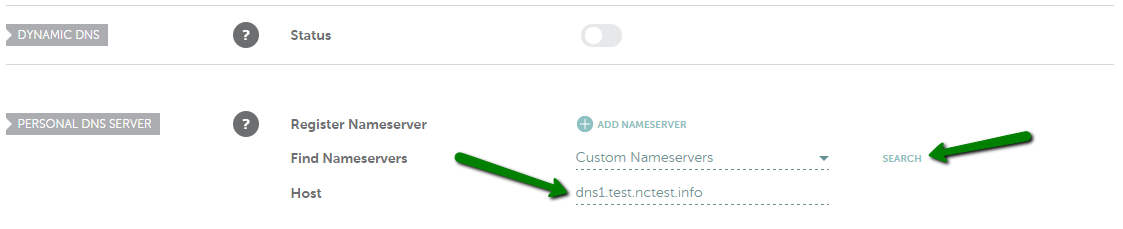
Verification Tricks: - For standard nameservers (ns1-9, dns1-9): Select "Standard Nameservers" from the dropdown and search

For custom nameservers: Choose "Custom Nameservers" and enter the full nameserver name
Critical reminder: This doesn't automatically point your domain to these nameservers. That's a separate step in the Domain tab.
Don't forget: Create A records for these nameservers in your hosting control panel. Registering a nameserver without backing DNS records is like giving someone a phone number that doesn't exist.
Network Solutions - Old School Interface
Network Solutions' interface feels like it's from 2005, but it works reliably once you navigate the maze.
The Journey: 1. Log into networksolutions.com (choose "Manage My Domains") 2. Look for "Manage Host Servers" at the bottom of the left menu 3. If that link disappeared (happens sometimes), go directly to the Name Server Management page
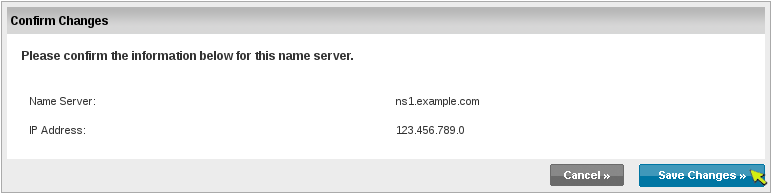
Registration Process: 4. Enter the nameserver name in the first field 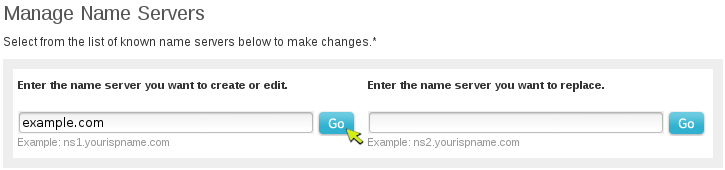
- Click "Go"
- Verify or enter the IP address on the next screen
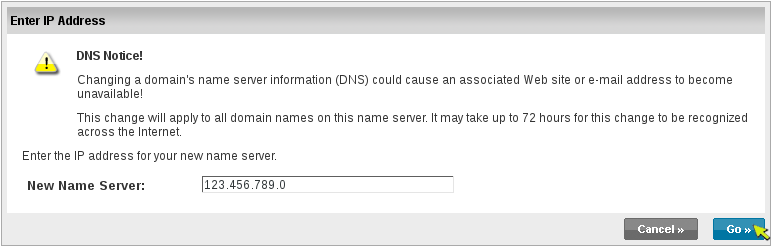
- Click "Go" again
- Double-check everything and click "Save Changes"
Repeat for additional nameservers.
Reality check: Network Solutions takes their sweet time with propagation - sometimes up to an hour. Plan accordingly.
HostGator/eNom - The Reseller Route
Many hosting companies use eNom as their registrar backend, so this process applies to HostGator and several other providers.
Steps: 1. Log into your eNom account (or HostGator's domain management) 2. Navigate: Domains → Advanced Tools → Register a Name Server 3. Enter the nameserver name and IP address 4. Click "Submit" 5. Repeat for additional nameservers
Heads up: eNom's interface varies depending on which reseller you're using. HostGator's version looks different from others, but the core process stays the same.
Universal Tips That Actually Matter
Timing expectations: Most registrars process nameserver registrations within 15 minutes, but DNS propagation takes longer. Don't expect instant results.
Common screwups to avoid: - Entering the full domain in hostname fields that auto-append - Forgetting to create DNS A records for your nameservers - Not waiting for propagation before testing - Using private IP addresses (yes, people do this)
Testing your work: Use nslookup ns1.yourdomain.com or online DNS tools to verify your nameservers resolve correctly. If they don't, either the registration failed or you need to check your DNS records.
Pro move: Register multiple nameservers at once. Most setups need at least ns1 and ns2, and having extras ready saves time later.
The whole process gets easier after you've done it a few times. Each registrar has quirks, but the core concept stays the same: tell the world where to find your nameservers.